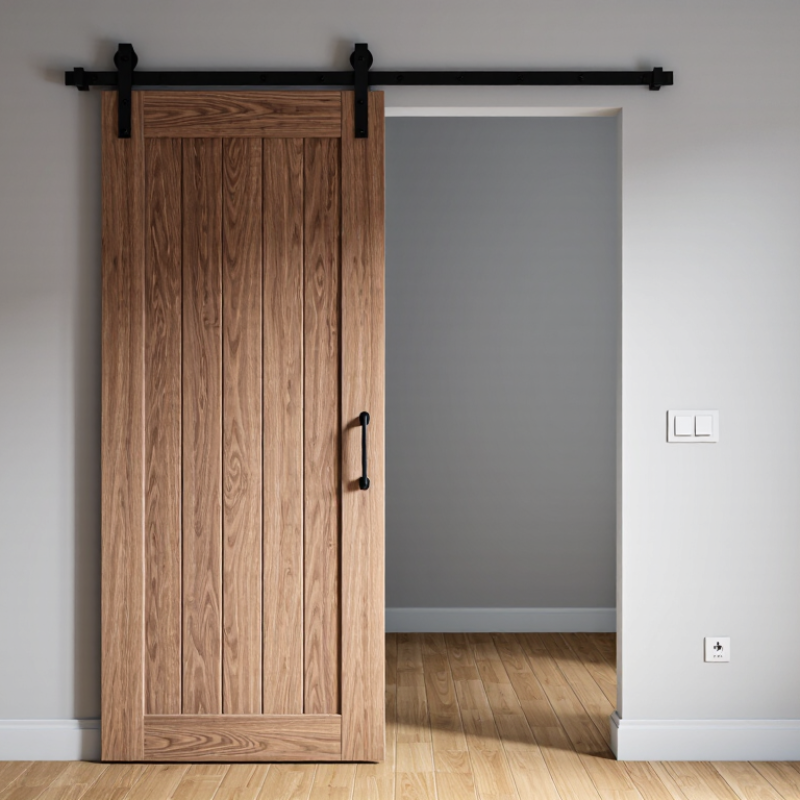
| 1. Measure the finished doorway width | Measure the clear opening from one finished edge to the other, including any casing or trim that the slab needs to cover. | Record the measurement in inches or millimeters. Do not rely on a nominal door size or an old slab measurement. |
| 2. Measure the opening in several places | Check the width near the top, middle, and bottom of the opening. | Use the widest measurement when calculating coverage so the slab can cover the entire opening. |
| 3. Plan for side overlap | Decide how far the slab should extend past each side of the opening when closed. | A common planning range is about 1–2 inches (25–51 mm) per side, but trim, privacy needs, and the room layout may call for a different amount. |
| 4. Calculate the required slab width | Combine the opening width with the planned overlap on both sides. | Example: a 36-inch opening with 2 inches of overlap per side needs a slab about 40 inches wide (36 + 2 + 2). |
| 5. Measure height from the finished floor | Measure vertically from the finished floor to the top of the opening, including any flooring that is already installed. | Measure at the left, center, and right. Use the largest opening-height measurement when checking coverage. |
| 6. Allow for a floor clearance | Choose a gap that clears the floor surface and any changes in flooring along the door’s travel path. | Clearance depends on the floor and hardware. For example, if the opening is 80 inches high, the desired top overlap is 1 inch, and the bottom gap is 0.5 inch, a slab about 80.5 inches high may cover the opening. |
| 7. Check the track and header requirements | Confirm the track’s mounting height, required space above the opening, and the hardware manufacturer’s slab-height guidance. | The slab must hang at the intended height without contacting the floor. Track and hanger designs can change the required measurements. |
| 8. Check wall space beside the opening | Measure the clear wall area where the slab will slide when open. | The available space should accommodate the slab’s full width, plus any room needed for handles, stops, or nearby obstacles. |
| 9. Account for obstacles and baseboards | Inspect the door’s travel path for baseboards, switches, outlets, vents, furniture, and projecting trim. | Some installations need spacers or a track designed to clear trim. Confirm that the slab can move freely before choosing its thickness and hardware. |
| 10. Verify the final slab dimensions | Compare the calculated width and height with the actual slab specification and the selected hardware instructions. | Confirm the finished slab size—not just the nominal size—before ordering. Recheck all measurements after flooring or trim changes. |