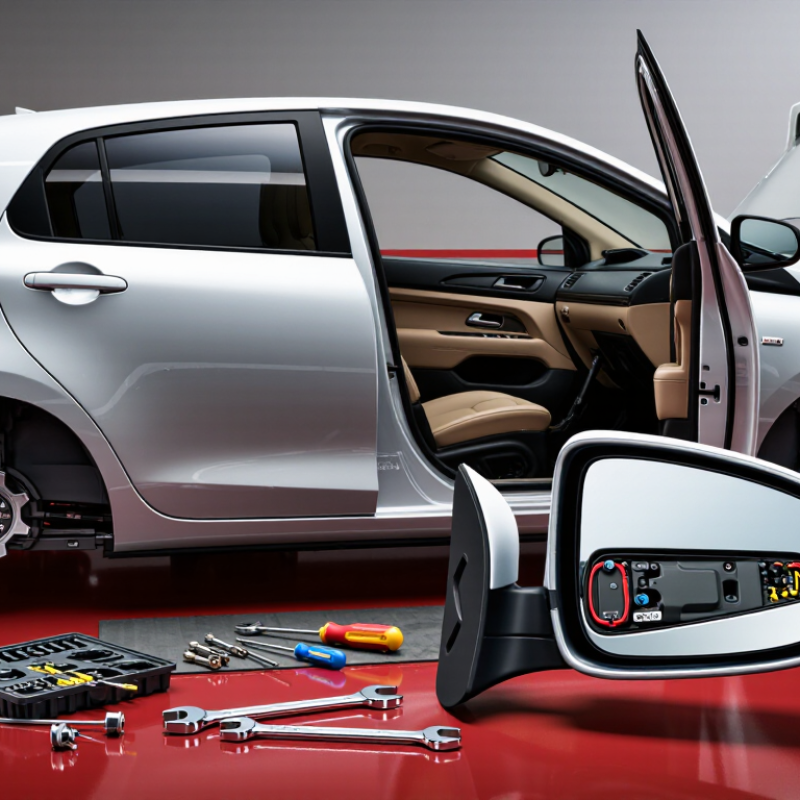
| 1 | Prepare the vehicle | Park on a level surface, switch off the ignition, remove the key, and protect the painted door area with a clean cloth. If the work involves wiring near an airbag, follow the vehicle’s battery-disconnection procedure and specified waiting period. | 5–10 min | Confirm the vehicle is secure and any required electrical precautions have been followed. |
| 2 | Gather tools | Use a plastic trim-removal tool, the correctly sized screwdriver or socket, a small container for fasteners, and a soft cloth. A flashlight can help locate concealed screws and connectors. | 5 min | Use tools that fit the fasteners to reduce the risk of damage. |
| 3 | Remove the door trim | Locate and remove visible screws, including any hidden behind covers or inside the door pull. Starting at the lower edge, release the trim clips with a plastic tool and work around the panel. Lift the panel as directed by its design, then support it without pulling on the wiring. | 15–30 min | Keep screws together and inspect the panel edge for clips left in the door. |
| 4 | Access the mirror wiring | Disconnect switch or speaker connectors that prevent the panel from being moved safely. Peel back only the necessary portion of the moisture barrier, taking care not to tear it. | 5–10 min | Do not let the door trim hang by its wires; keep the moisture barrier intact for reinstallation. |
| 5 | Disconnect the existing mirror | Locate the mirror electrical connector and release its locking tab before separating the plug. If fitted, remove the interior trim cover at the mirror mounting point. | 5 min | Pull on the connector body, not on the wires. |
| 6 | Detach the mirror | Support the mirror from outside the door. Remove its retaining nuts or fasteners from inside the door, keeping the mirror steady so it cannot fall or scratch the paint. Guide the wiring through the opening as the mirror is removed. | 10–15 min | Store the fasteners safely and check that no wiring or seal remains caught in the opening. |
| 7 | Fit the replacement mirror | Feed the connector through the opening and seat the mirror evenly against the door. Install the retaining fasteners by hand first, then tighten them evenly to the vehicle manufacturer’s specified torque. Reconnect the electrical plug. | 10–15 min | Use the specified torque rather than guessing; confirm the mirror base sits flat and the wiring is not pinched. |
| 8 | Test and reassemble | Before refitting the door trim, reconnect the battery if it was disconnected and test available mirror adjustment, folding, heating, or indicator functions. Refit the moisture barrier, reconnect all door-panel plugs, align the trim clips, and reinstall the screws and covers. | 15–25 min | Check that every clip is seated, the trim is flush, and all mirror functions operate correctly. |