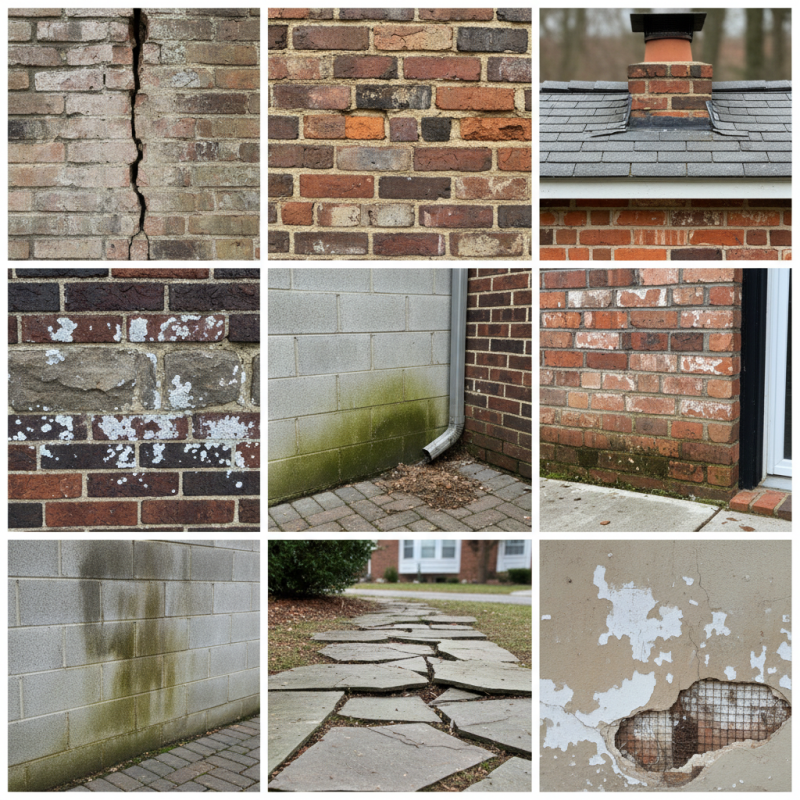
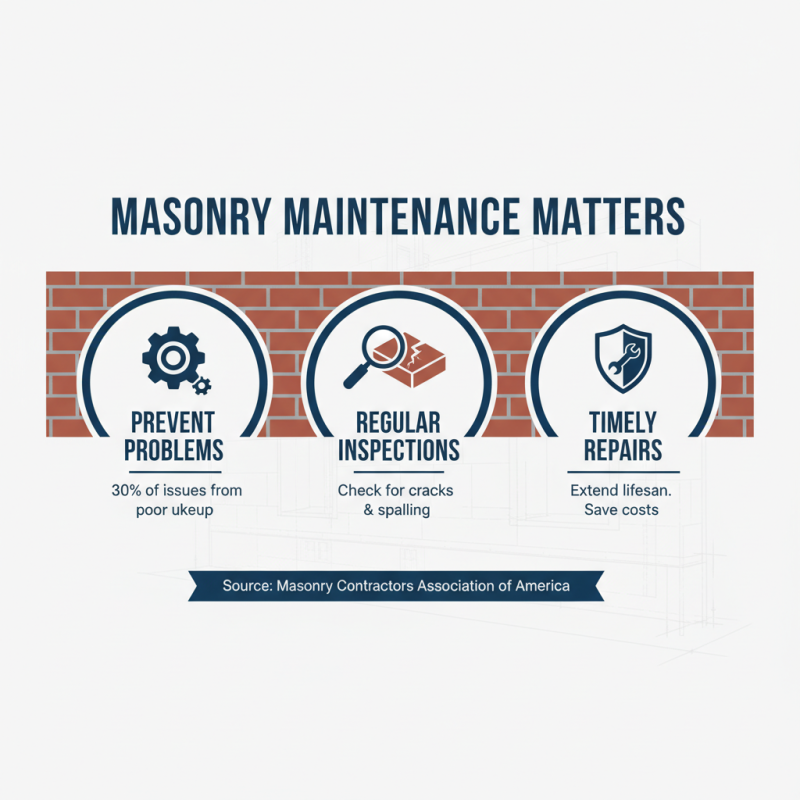
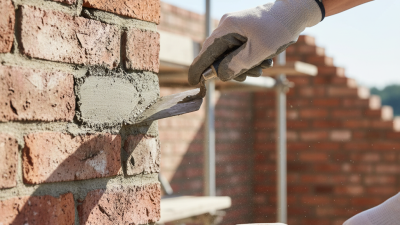
| Cracks in Brickwork |
Vertical or horizontal cracks can develop due to settling or temperature changes. |
Prepare cracks by cleaning them, apply vinyl concrete patch or mortar. |
Putty knife, wire brush, patching compound. |
1-2 hours |
| Brick Spalling |
Surface of the brick begins to flake off, often due to moisture. |
Remove loose pieces and apply a waterproof sealant. |
Hammer, chisel, sealant. |
2 hours |
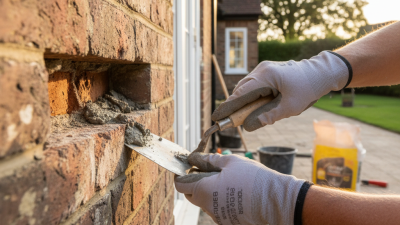
| Loose Mortar Joints |
Mortar can crack and crumble, compromising the structure. |
Remove damaged mortar and repoint it with new mortar. |
Trowel, mortar mix, jointing tool. |
3-4 hours |
| Water Damage |
Excess water can cause structural and aesthetic damage. |
Identify source of water, repair damage, and apply water-resistant coating. |
Pressure washer, patching materials, sealant. |
6+ hours |
| Efflorescence |
White powdery substance on brick surface, caused by salt. |
Scrub with a stiff brush and clean water; seal to prevent recurrence. |
Stiff brush, water, sealant. |
1 hour |
| Misaligned Bricks |
Bricks may shift due to foundation movement or poor installation. |
Reposition bricks, replace damaged ones, and secure with mortar. |
Chisel, mortar, rubber mallet. |
3-5 hours |
| Chimney Damage |
Cracks or missing bricks can lead to dangerous conditions. |
Inspect and repair with proper sealing and cement. |
Ladder, sealant, cement. |
4-6 hours |
| Paver Settling |
Pavers can sink or become uneven over time. |
Lift pavers, add base material, and reset pavers. |
Paver level, base material. |
2-3 hours |
| Cracked Mortar |
Old mortar can crack and crumble, causing instability. |
Remove cracks and apply fresh mortar; ensure proper beveling. |
Grout bag, trowel, new mortar. |
2-4 hours |
| Cracked Foundation |
Foundation cracks can lead to significant structural issues. |
Evaluate depth, apply epoxy filler, and monitor. |
Epoxy filler, trowel. |
3-5 hours |