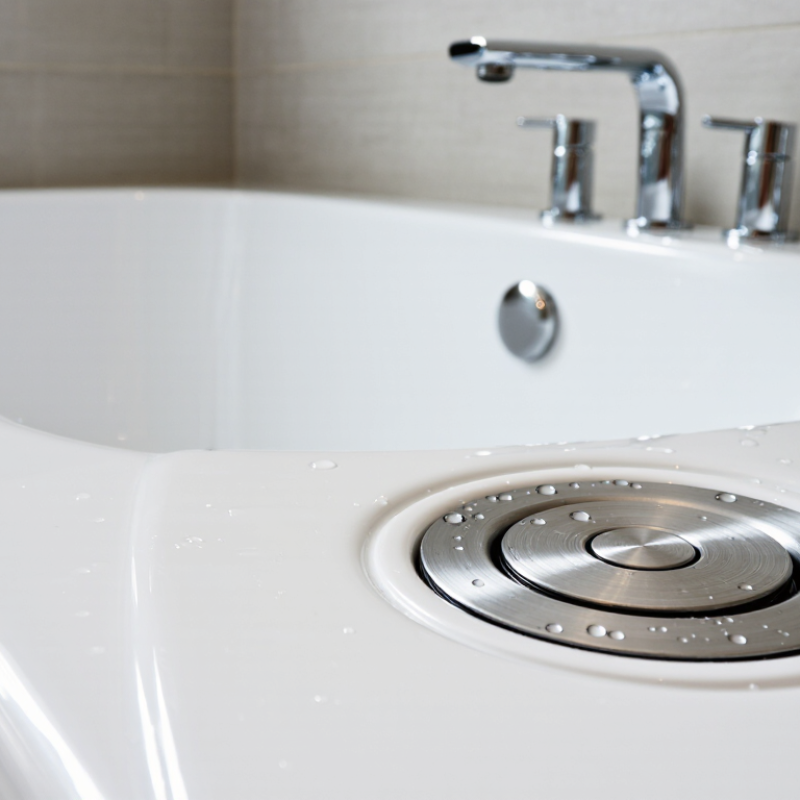
| Waste mechanism | Identify whether the existing waste uses a push-button click-clack mechanism, a cable-operated pop-up, or another linkage system. | Different mechanisms use different internal parts and operating arrangements; a button that looks similar may not fit the existing waste body. | Check whether the button, spring, plug, and waste body are sold separately or only as a complete assembly. |
| Drain outlet size | Measure the basin’s drain opening and compare it with the waste’s stated outlet and fitting dimensions. | Waste sizes and connection standards can vary. Confirm the product specification rather than relying on appearance alone. | Record the existing waste’s measurements before ordering, especially when replacing only the plug or mechanism. |
| Overflow arrangement | Check whether the basin has an overflow opening and whether the waste is designed for an overflow or for a basin without one. | An overflow-compatible waste includes a route for water from the basin overflow. The wrong configuration may not connect properly. | Match the replacement waste to the basin’s overflow arrangement; do not assume an overflow version can be adapted to every basin. |
| Basin thickness and clearance | Measure the basin thickness around the drain and check the available space beneath the basin. | The threaded section must be long enough to secure the waste through the basin, and the assembled waste must clear the trap and surrounding fittings. | Look for the manufacturer’s stated fitting range or dimensions when replacing the complete waste assembly. |
| Trap and pipe connection | Check the outlet direction, connection diameter, and the type of trap or waste pipe currently installed. | Compatible connections help avoid misalignment, extra adapters, or changes to the existing pipework. | Confirm that seals and connection parts are included, and verify the connection dimensions before buying a replacement. |
| Button location and operation | Check whether the button is mounted on the plug, on the waste fitting, or operated by a separate control. | The operating method affects access, installation sequence, and whether the button can be comfortably reached and pressed. | For a button-only replacement, verify its thread, shape, and compatibility with the existing mechanism. |
| Installation access | Assess access beneath the basin and whether the old waste can be reached and removed with the available tools. | Restricted access can make tightening, cleaning mating surfaces, and positioning seals more difficult. | Before removing the old unit, check whether the intended replacement requires access to parts that are difficult to reach. |
| Seals and leak checks | Review the supplied gasket arrangement and follow the installation instructions for the basin and waste. | Correctly positioned seals and secure connections help prevent leaks; overtightening can damage fittings or seals. | Check whether replacement seals are available individually and whether the existing seals should be replaced during installation. |
| Parts availability | Look for clear part numbers, a parts diagram, and written compatibility information for the waste assembly. | Identifiable components make it easier to confirm that a replacement part matches the installed mechanism. | Prefer products with documented availability for common service items such as the button, plug, spring, seals, and fixing components. |
| Final compatibility check | Compare the basin type, drain measurements, overflow configuration, mechanism, and pipe connection with the product specification. | Checking all relevant details before installation reduces the risk of ordering a fitting that cannot be installed as intended. | Keep the product instructions and measurements for future maintenance or replacement-part searches. |